Laravel Contact Form with Email Sending
- Published on
- Jigar Patel--6 min read
Overview
- Introduction
- Step 1: Install Laravel (Optional)
- Step 2: Database Configuration
- Step 3: Create Migration
- Step 4: Create Model
- Step 5: Create Routes
- Step 6: Create Controller
- Step 7: Create View File
- Step 8: Create Mail Class
- Step 9: Configure Mail Settings
- Step 10: Run the Laravel App
- Output
- Source Code
- About the Author
- We're Hiring
- Related Blogs

Introduction
Learn How to Create a Contact Form in Laravel and Send Emails
Hello Developers,
Welcome to this tutorial where we'll explore how to create a contact form in Laravel and Send Emails. I will guide you through creating a simple contact us form with email validation, form submission, and email notification. By the end of this tutorial, you'll have a functional Laravel contact form that collects user information, stores it in the database, and sends an email notification to the admin. Let's dive into the step-by-step process to achieve this.
In this tutorial, we will create a contact us form with fields for name, email, phone, subject, and message. We will also implement form validation and handle email sending. The tutorial covers Laravel versions 6 through 10.
Step 1: Install Laravel (Optional)
If you haven't created a Laravel app already, you can start by executing the following command:
composer create-project laravel/laravel example-app
Step 2: Database Configuration
Configure your database settings in the .env file:
DB_CONNECTION=mysql
DB_HOST=127.0.0.1
DB_PORT=3306
DB_DATABASE=your_database_name
DB_USERNAME=your_database_username
DB_PASSWORD=your_database_password
Step 3: Create Migration
Generate a migration for the contacts table using the command:
php artisan make:migration create_contacts_table
Edit the generated migration file to define the columns for the contacts table:
<?php

use Illuminate\Database\Migrations\Migration;
use Illuminate\Database\Schema\Blueprint;
use Illuminate\Support\Facades\Schema;

return new class extends Migration
{
    /**
     * Run the migrations.
     *
     * @return void
     */
    public function up()
    {
        Schema::create('contacts', function (Blueprint $table) {
            $table->id();
            $table->string('name');
            $table->string('email');
            $table->text('message');
            $table->timestamps();
        });
    }

    /**
     * Reverse the migrations.
     *
     * @return void
     */
    public function down()
    {
        Schema::dropIfExists('contacts');
    }
};
Run the migration to create the contacts table:
php artisan migrate
Step 4: Create Model
Generate the Contact model and set up the logic to send email notifications upon contact form submission. Place the following code in your app/Models/Contact.php file:
<?php
// app/Models/Contact.php

namespace App\Models;

use Illuminate\Database\Eloquent\Model;
use Illuminate\Support\Facades\Mail;
use App\Mail\ContactMail;

class Contact extends Model
{
    protected $fillable = ['name', 'email', 'message'];

    protected static function boot()
    {
        parent::boot();

        static::created(function ($contact) {
            $adminEmail = "your_admin_email@gmail.com";
            Mail::to($adminEmail)->send(new ContactMail($contact));
        });
    }
}
Step 5: Create Routes
Define two routes, one for displaying the contact form and the other for handling form submissions. Add the following routes to your routes/web.php file:
use Illuminate\Support\Facades\Route;
use App\Http\Controllers\ContactController;

Route::get('contact-us', [ContactController::class, 'index']);
Route::post('contact-us', [ContactController::class, 'store'])->name('contact.us.store');
Step 6: Create Controller
Generate a ContactController and implement the index and store methods to handle form display and submission. Also, include form validation. Create the ContactController in app/Http/Controllers/ContactController php:
<?php

namespace App\Http\Controllers;

use Illuminate\Http\Request;
use App\Models\Contact;

class ContactController extends Controller
{
    public function index()
    {
        return view('contactForm');
    }

    public function store(Request $request)
    {
        $request->validate([
            'name' => 'required',
            'email' => 'required|email',
            'message' => 'required'
        ]);

        Contact::create($request->all());

        return redirect()->back()
            ->with(['success' => 'Thank you for contacting us. We will get in touch with you shortly.']);
    }
}
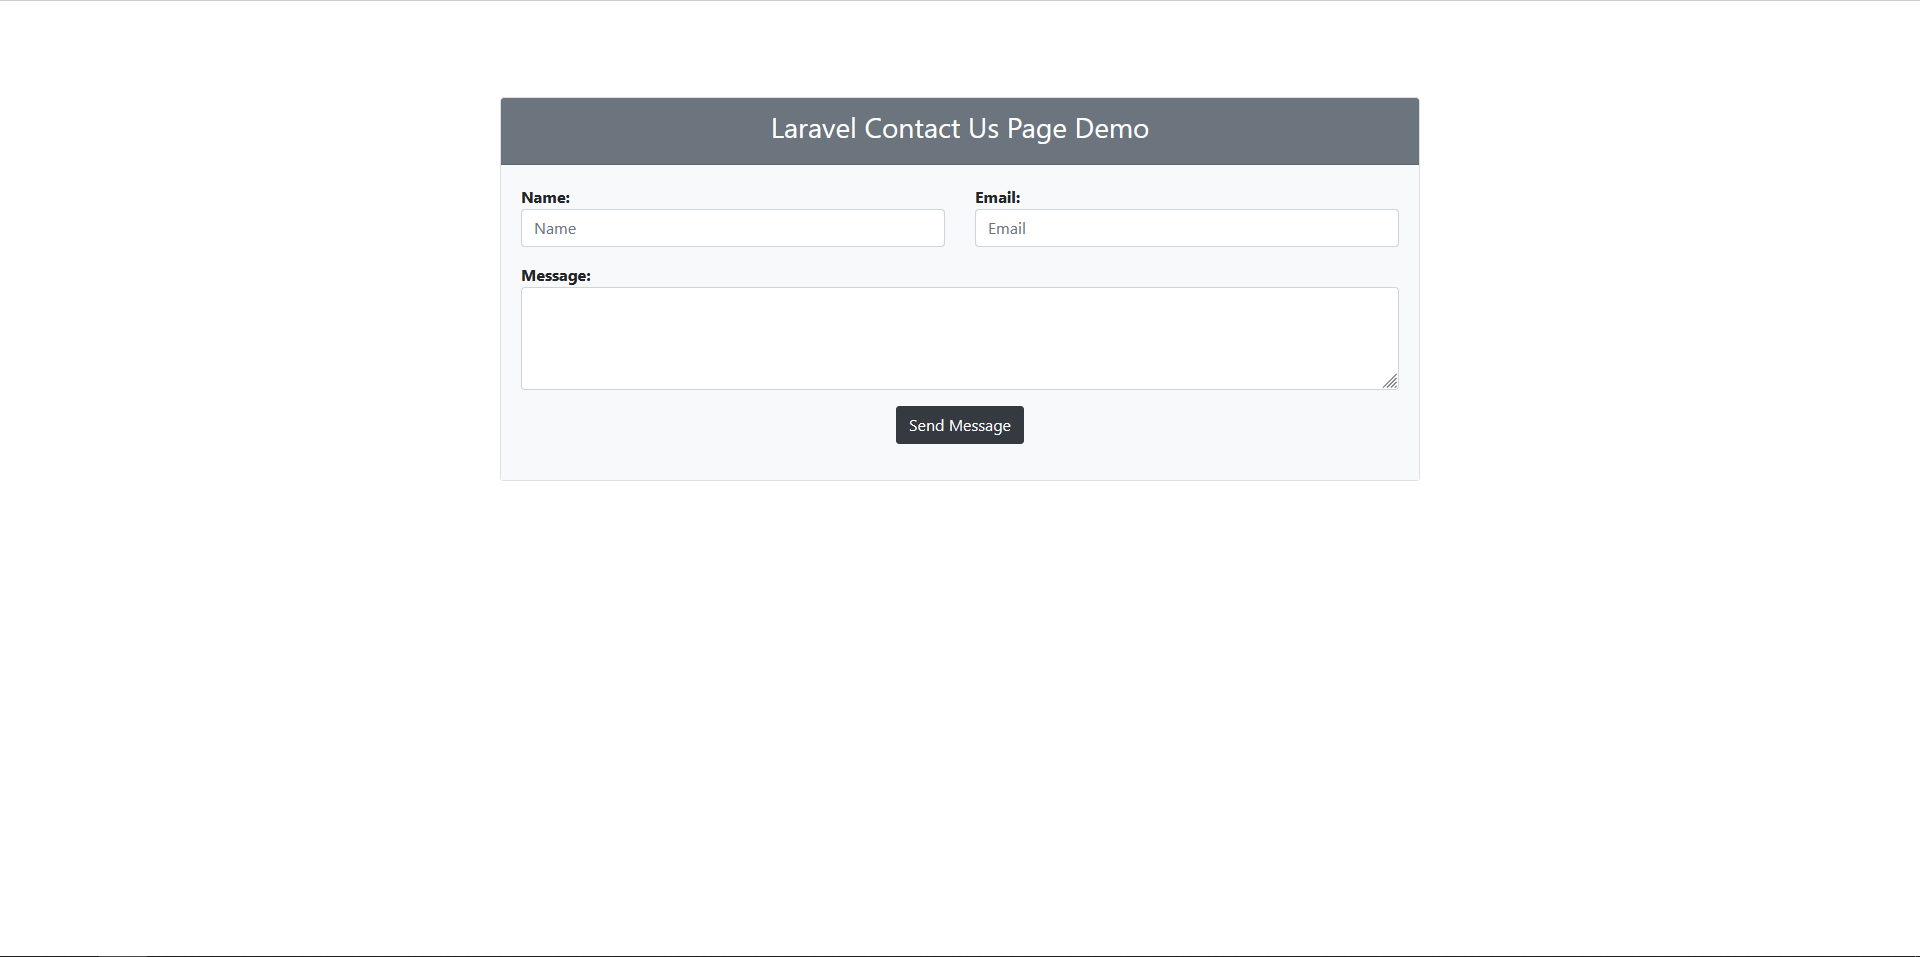
Step 7: Create View File
Create a view file named contactForm.blade.php in the resources/views directory. This file will contain the HTML form, validation messages, and submission confirmation. You can copy and paste the provided HTML code for the form and customize it as needed.
<!DOCTYPE html>
<html>
  <head>
    <title>Laravel Contact Us Page Demo</title>
    <meta charset="utf-8" />
    <meta http-equiv="X-UA-Compatible" content="IE=edge" />
    <meta name="viewport" content="width=device-width, initial-scale=1" />
    <link
      rel="stylesheet"
      href="https://cdnjs.cloudflare.com/ajax/libs/twitter-bootstrap/4.5.2/css/bootstrap.min.css"
    />
  </head>

  <body>
    <div class="container">
      <div class="row mt-5 mb-5">
        <div class="col-10 offset-1 mt-5">
          <div class="card">
            <div class="card-header bg-secondary">
              <h3 class="text-center text-white">Laravel Contact Us Page Demo</h3>
            </div>
            <div class="card-body bg-light">
              @if (Session::has('success'))
              <div class="alert alert-success">{{ Session::get('success') }}</div>
              @endif

              <form method="POST" action="{{ route('contact.us.store') }}" id="contactUSForm">
                {{ csrf_field() }}

                <div class="row">
                  <div class="col-md-6">
                    <div class="form-group">
                      <strong>Name:</strong>
                      <input
                        type="text"
                        name="name"
                        class="form-control"
                        placeholder="Name"
                        value="{{ old('name') }}"
                      />
                      @if ($errors->has('name'))
                      <span class="text-danger">{{ $errors->first('name') }}</span>
                      @endif
                    </div>
                  </div>
                  <div class="col-md-6">
                    <div class="form-group">
                      <strong>Email:</strong>
                      <input
                        type="text"
                        name="email"
                        class="form-control"
                        placeholder="Email"
                        value="{{ old('email') }}"
                      />
                      @if ($errors->has('email'))
                      <span class="text-danger">{{ $errors->first('email') }}</span>
                      @endif
                    </div>
                  </div>
                </div>

                <div class="row">
                  <div class="col-md-12">
                    <div class="form-group">
                      <strong>Message:</strong>
                      <textarea name="message" rows="3" class="form-control">
{{ old('message') }}</textarea
                      >
                      @if ($errors->has('message'))
                      <span class="text-danger">{{ $errors->first('message') }}</span>
                      @endif
                    </div>
                  </div>
                </div>

                <div class="form-group text-center">
                  <button class="btn btn-dark btn-submit">Send Message</button>
                </div>
              </form>
            </div>
          </div>
        </div>
      </div>
    </div>
  </body>
</html>
Step 8: Create Mail Class
Generate a mail class named ContactMail using the command:
php artisan make:mail ContactMail
<?php

namespace App\Mail;

use Illuminate\Mail\Mailable;
use Illuminate\Queue\SerializesModels;

class ContactMail extends Mailable
{
    use SerializesModels;

    public $data;

    public function __construct($data)
    {
        $this->data = $data;
    }

    public function build()
    {
        return $this->subject('Contact Form Submission: ' . $this->data->subject)
            ->view('emails.contact');
    }
}
Update the ContactMail class in app/Mail/ContactMail.php to define the email subject, recipient, and email view template. Also, create the corresponding email view in the resources/views/emails directory.
Step 9: Configure Mail Settings
Configure your email sending settings in the .env file. Set the mail driver, host, port, username, password, encryption, and sender details according to your email provider.
Streamline your email testing process with MailTrip – the ultimate solution for ensuring flawless email delivery. Try it now and experience hassle-free email testing like never before!
MAIL_MAILER=smtp
MAIL_HOST=sandbox.smtp.mailtrap.io
MAIL_PORT=2525
MAIL_USERNAME=your_username
MAIL_PASSWORD=your_password
MAIL_ENCRYPTION=tls
MAIL_FROM_ADDRESS=admin@gmail.com
MAIL_FROM_NAME="${APP_NAME}"
Step 10: Run the Laravel App
Finally, you can run your Laravel app using the command:
php artisan serve
Visit the contact form page in your browser at http://localhost:8000/contact-us and test the functionality.
Output
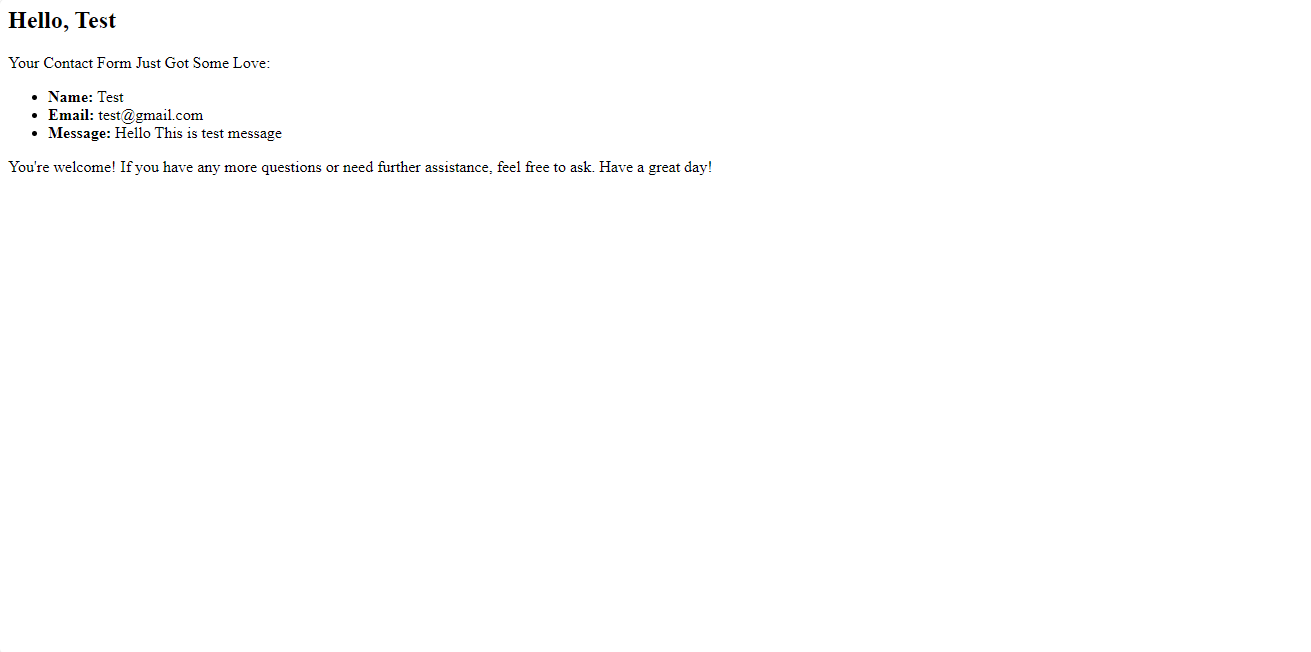
I trust this guide has provided you with a clear grasp of how to develop a contact form within the Laravel framework and successfully dispatch email notifications. You're encouraged to tailor the form and email templates to align with your specific requirements. Should any queries arise or if you require additional aid, please feel comfortable reaching out for support. Your satisfaction and comprehension are of utmost importance.
Source Code
The complete source code for this tutorial is available on GitHub. You can find it Here.
About the Author
Jigar Patel is a React.js enthusiast and a software developer at JBCodeapp Company. Visit our JBCodeapp to learn more about our work in the React.js ecosystem.
We're Hiring
Are you passionate about React.js development? We're always on the lookout for talented developers to join our team. Check out our careers page for current job openings.
Related Blogs
-
Mastering Laravel Artisan: 20 Essential Commands for Effortless Development
-
Laravel Post View Counter: Monitor Your Content's Popularity