Laravel Send Email using Queue Example
- Published on
- Jigar Patel--4 min read
Overview
- Introduction
- Step 1: Install Laravel
- Step 2: Create Mail Class with Configuration
- Step 3: Queue Configuration
- Step 4: Create Queue Job
- Step 5: Test Queue Job
- Quick summary
- Source Code
- About the Author
- We're Hiring
- Related Blogs

Introduction
This tutorial demonstrates how to send emails using a queue in Laravel. We will guide you through the step-by-step process of sending emails with a queue in Laravel. We will also provide an example of sending an email using a queue. By following this tutorial, you'll learn how to implement sending emails in the background, which can improve user experience and performance for tasks like email verification or sending invoices.
Step 1: Install Laravel
If you don't already have a Laravel app, you can create one using the following command:
composer create-project laravel/laravel example-app
Step 2: Create Mail Class with Configuration
To begin, let's create an email for testing using the Laravel Mail facade. Run the following command:
php artisan make:mail SendEmailTest
This will generate a new folder named "Mail" in the app directory, containing the SendEmailTest.php file. Replace the contents of this file with the following code:
<?php

namespace App\Mail;

use Illuminate\Bus\Queueable;
use Illuminate\Contracts\Queue\ShouldQueue;
use Illuminate\Mail\Mailable;
use Illuminate\Queue\SerializesModels;

class SendEmailTest extends Mailable
{
    use Queueable, SerializesModels;

    public function __construct()
    {
    }

    public function build()
    {
        return $this->view('emails.test');
    }
}
Next, create the email view using a Blade file. Create a file named test.blade.php in the resources/views/emails/ directory with the following content:
<!DOCTYPE html>
<html>
<head>
<title>Laravel Send Email using Queue Example</title>
</head>
<body>
<center>
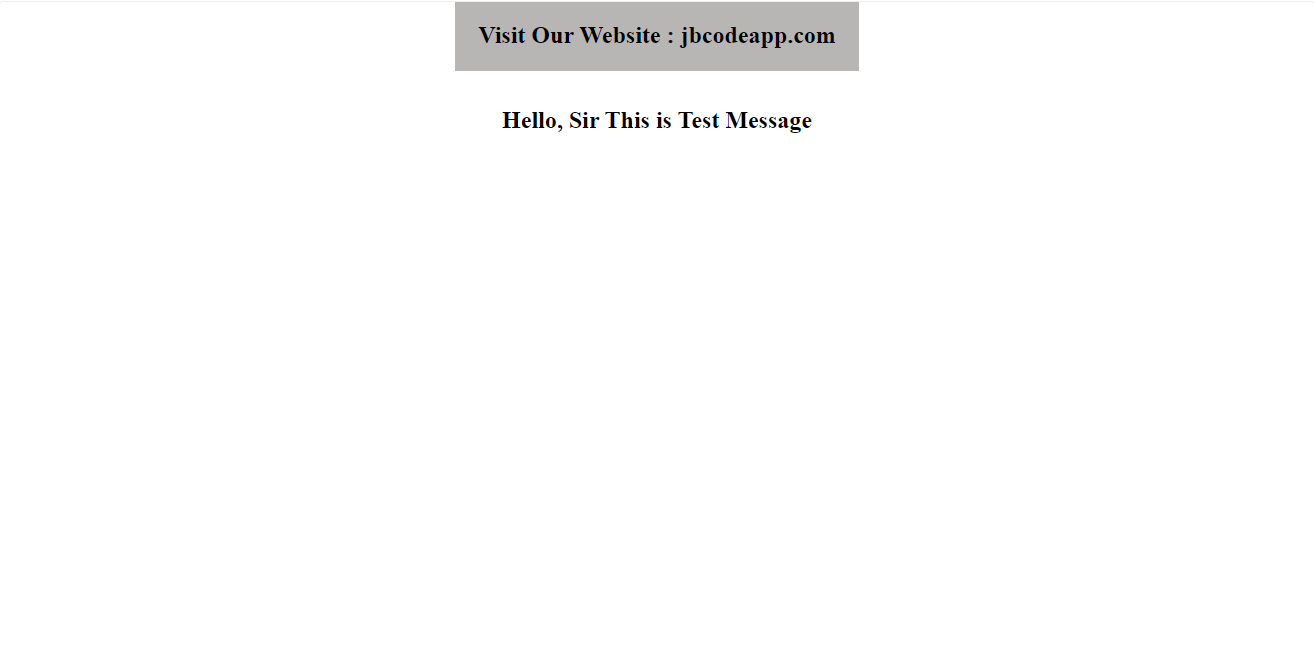
<h2 ">
<a style="padding: 23px;background: #8f8a8aa1; href="https://jbcodeapp.com">Visit Our Website :
jbcodeapp.com</a>
</h2>
<br>
<h2><b>Hello, Learner</b> This is Test Message</h2>
</center>
</body>
</html>
After configuring the view file, set up the email configuration in the .env file:
MAIL_MAILER=smtp
MAIL_HOST=sandbox.smtp.mailtrap.io
MAIL_PORT=2525
MAIL_USERNAME=your_username
MAIL_PASSWORD=your_password
MAIL_ENCRYPTION=null
MAIL_FROM_ADDRESS="hello@example.com"
MAIL_FROM_NAME="${APP_NAME}"
Step 3: Queue Configuration
Configure the queue driver by setting the QUEUE_CONNECTION in the .env file:
QUEUE_CONNECTION=database
Generate and migrate the queue database tables using the following commands:
php artisan queue:table
php artisan migrate
Step 4: Create Queue Job
Create a queue job using the following command:
php artisan make:job SendEmailJob
This will generate the SendEmailJob.php file in the Jobs directory. Replace its contents with the following code:
namespace App\Jobs;
use Illuminate\Bus\Queueable;
use Illuminate\Contracts\Queue\ShouldBeUnique;
use Illuminate\Contracts\Queue\ShouldQueue;
use Illuminate\Foundation\Bus\Dispatchable;
use Illuminate\Queue\InteractsWithQueue;
use Illuminate\Queue\SerializesModels;
use App\Mail\SendEmailTest;
use Mail;

class SendEmailJob implements ShouldQueue
{
    use Dispatchable, InteractsWithQueue, Queueable, SerializesModels;

    protected $details;

    public function __construct($details)
    {
        $this->details = $details;
    }

    public function handle()
    {
        $email = new SendEmailTest();
        Mail::to($this->details['email'])->send($email);
    }
}
Step 5: Test Queue Job
Create a route in the routes/web.php file to test the created queue:
Route::get('email-test', function () {
    $details['email'] = 'your_email@gmail.com';
    dispatch(new App\Jobs\SendEmailJob($details));
    dd('done');
});
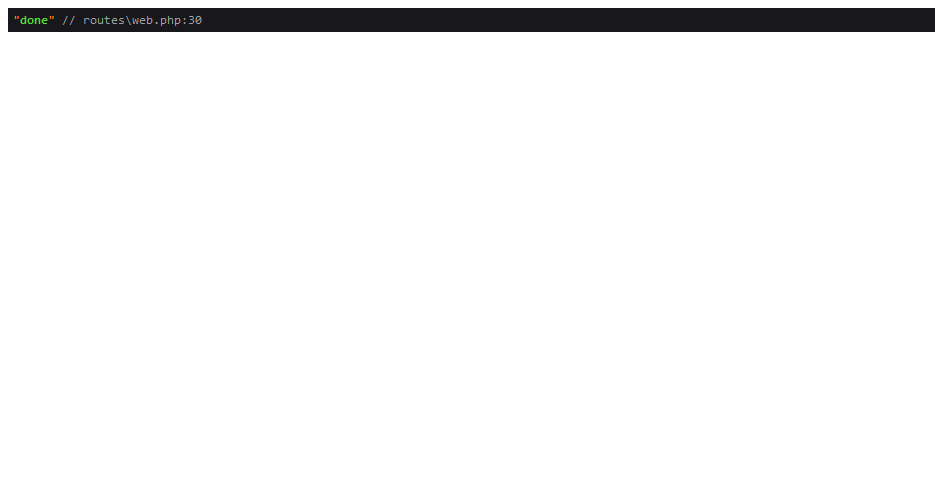
To see the queue process, run the following command:
php artisan queue:work
Output:
Email:
Quick summary
By following the above steps, you have successfully set up a queue for sending emails in Laravel. This approach can help improve the performance of background tasks like sending emails and enhance the overall user experience.
Source Code
The complete source code for this tutorial is available on GitHub. You can find it Here.
About the Author
Jigar Patel is a React.js enthusiast and a software developer at JBCodeapp Company. Visit our JBCodeapp to learn more about our work in the React.js ecosystem.
We're Hiring
Are you passionate about Laravel development? We're always on the lookout for talented developers to join our team. Check out our careers page for current job openings.