Guide: Sending Email Notifications in Laravel
- Published on
- Jigar Patel--4 min read
Overview
- Learn How to Implement Email Notifications in Laravel
- Laravel's notification system
- Step 1: Laravel Installation
- Step 2: Database Migration
- Step 3: Model Update
- Step 4: Creating Notifications
- Step 5: Email Configuration
- Step 6: Defining Routes
- Step 7: Controller Logic
- Source Code
- About the Author
- We're Hiring
- Related Blogs

Learn How to Implement Email Notifications in Laravel
Discover the Art of Sending Email Notifications in Laravel
Laravel's notification system
Laravel's notification system is an influential feature within the Laravel PHP framework, enabling seamless communication with users through diverse channels such as email, SMS, Slack, and more. These notifications are defined through dedicated notification classes, which extend the Illuminate\Notifications\Notification class. In these classes, you wield the power to customize the content, formatting, and channels through which notifications are transmitted.
The Laravel framework offers an array of built-in channels for diverse notification mediums, including email notifications, database storage, and even broadcasting notifications through web sockets. Additionally, custom channels can be crafted to extend this functionality to various communication platforms.
Step 1: Laravel Installation
Begin by installing Laravel if you haven't already. Execute the following command to set up a new Laravel app:
composer create-project laravel/laravel example-app
Step 2: Database Migration
Create a new migration to add a 'birthdate' column to the users table using the command:
php artisan make:migration add_birthdate_column
In the generated migration file located at database/migrations, include the following code to define the new column:
use Illuminate\Database\Migrations\Migration;
use Illuminate\Database\Schema\Blueprint;
use Illuminate\Support\Facades\Schema;

return new class extends Migration
{
    public function up()
    {
        Schema::table('users', function (Blueprint $table) {
            $table->date('birthdate')->nullable();
        });
    }

    public function down()
    {
        // Define rollback logic here
    }
};
Apply the migration using:
php artisan migrate
Step 3: Model Update
Update the User model located at app/Models/User.php. Include the 'birthdate' column in the $fillable array. Ensure you include the Notifiable trait from Illuminate\Notifications\Notifiable:
namespace App\Models;

use Illuminate\Contracts\Auth\MustVerifyEmail;
use Illuminate\Database\Eloquent\Factories\HasFactory;
use Illuminate\Foundation\Auth\User as Authenticatable;
use Illuminate\Notifications\Notifiable;
use Laravel\Sanctum\HasApiTokens;

class User extends Authenticatable
{
    use HasApiTokens, HasFactory, Notifiable;

    protected $fillable = [
        'name',
        'email',
        'password',
        'birthdate'
    ];

    // Other attributes and methods...
}
Step 4: Creating Notifications
Generate the BirthdayWish notification class using the command:
php artisan make:notification BirthdayWish
This will create a new folder named Notifications within the app directory. Open the generated app/Notifications/BirthdayWish.php file and adjust it as follows:
namespace App\Notifications;
use Illuminate\Bus\Queueable;
use Illuminate\Contracts\Queue\ShouldQueue;
use Illuminate\Notifications\Messages\MailMessage;
use Illuminate\Notifications\Notification;
class BirthdayWish extends Notification
{
use Queueable;
private $messages;
public function __construct($messages)
{
$this->messages = $messages;
}
public function via(object $notifiable): array
{
return ['mail'];
}
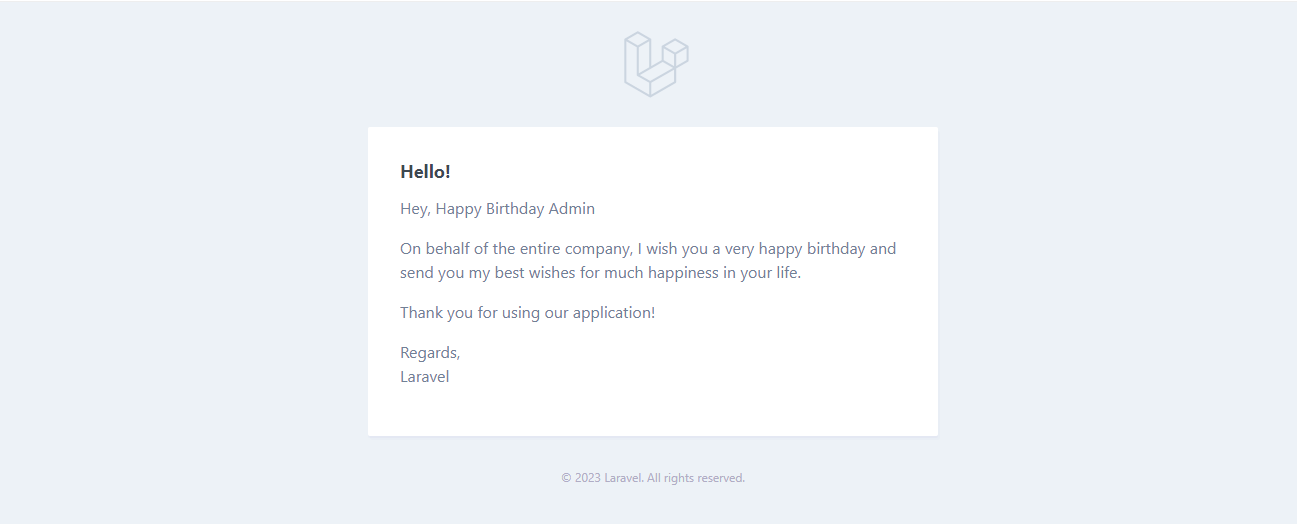
public function toMail(object $notifiable): MailMessage
{
return (new MailMessage)
->line($this->messages['hi'])
->line($this->messages['wish'])
->line('Thank you for using our application!');
}
public function toArray(object $notifiable): array
{
return [
// Additional data if needed
];
}
}
Step 5: Email Configuration
Configure the email settings including mail driver, host, port, username, password, and other essential details in the .env file:
MAIL_MAILER=smtp
MAIL_HOST=smtp.gmail.com
MAIL_PORT=465
MAIL_USERNAME=your_username
MAIL_PASSWORD=your_password
MAIL_ENCRYPTION=null
MAIL_FROM_ADDRESS=mygoogle@gmail.com
MAIL_FROM_NAME="${APP_NAME}"
Step 6: Defining Routes
Define a route for sending notifications to users. Open the routes/web.php file and add the following route:
use Illuminate\Support\Facades\Route;
use App\Http\Controllers\UserController;

Route::get('user-notify', [UserController::class, 'index']);
Step 7: Controller Logic
Create a UserController with an index method responsible for triggering the notification. The following code illustrates the logic within app/Http/Controllers/UserController.php:
namespace App\Http\Controllers;
use Illuminate\Http\Request;
use App\Models\User;
use App\Notifications\BirthdayWish;
class UserController extends Controller
{
public function index(Request $request)
{
$user = User::find(1);
$messages["hi"] = "Hey, Happy Birthday {$user->name}";
$messages["wish"] = "On behalf of the entire company, I wish you a very happy birthday and send you my best wishes for much happiness in your life.";
$user->notify(new BirthdayWish($messages));
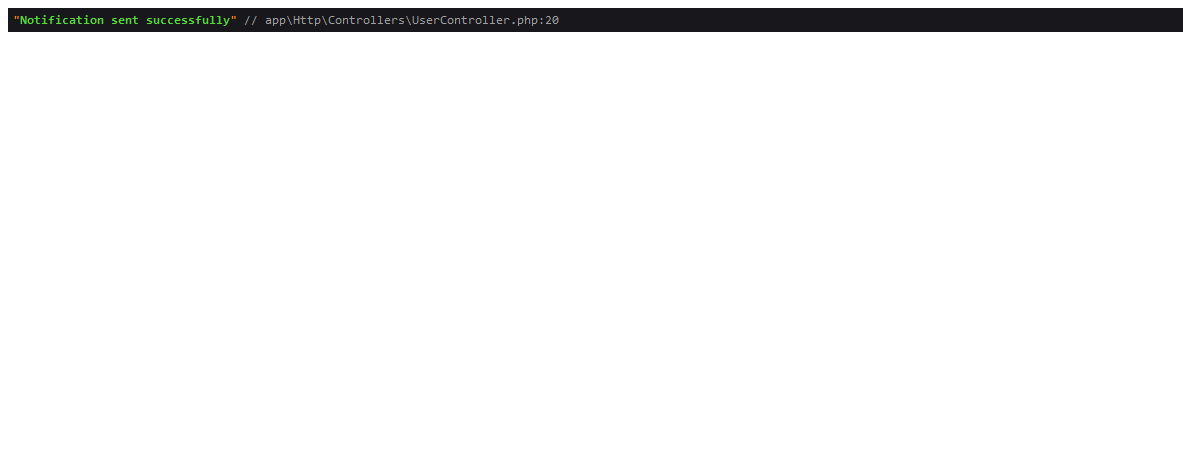
dd('Notification sent successfully');
}
}
With the above steps completed, your Laravel app is set to go. To run the app, execute the following command and access it through your web browser:
php artisan serve
Navigate to http://localhost:8000/user-notify to view the output and observe the email notification in action.
Output
Source Code
The complete source code for this tutorial is available on GitHub. You can find it Here.
About the Author
Jigar Patel is a Laravel enthusiast and a software developer at JBCodeapp Company. Visit our JBCodeapp to learn more about our work in the React.js ecosystem.
We're Hiring
Are you passionate about Laravel development? We're always on the lookout for talented developers to join our team. Check out our careers page for current job openings.
Related Blogs
-
Laravel Post View Counter: Monitor Your Content's Popularity
-
Laravel vs. CodeIgniter Your Complete Handbook to Selecting the Perfect PHP Framework