Authentication in Laravel: A Comprehensive Guide
- Published on
- Jigar Patel--4 min read
Overview
- Introduction
- Laravel Project Setup
- Install Laravel
- Database Configuration
- Part 1: Authentication with Laravel Breeze
- Step 2: Database Configuration
- Step 3: User Model
- Step 4: Authentication Middleware
- Step 5: Login
- Quick summary
- Source Code
- About the Author
- We're Hiring
- Related Blogs

Introduction
Authentication and authorization are essential aspects of web application development. In Laravel, a popular PHP framework, these features are not only straightforward to implement but also highly customizable. In this guide, we will explore how to set up authentication and authorization in a Laravel application with practical code examples.
Laravel Project Setup
Install Laravel
To get started, make sure you have Composer installed on your system. Then, open your terminal and run the following command to create a new Laravel project:
composer create-project --prefer-dist laravel/laravel laravel-auth-guide
This command will set up a new Laravel project named laravel-auth-guide.
Database Configuration
Next, configure your database connection by editing the .env file. Set the DB_CONNECTION, DB_HOST, DB_PORT, DB_DATABASE, DB_USERNAME, and DB_PASSWORD variables to match your database setup.
Part 1: Authentication with Laravel Breeze
Step 1: Setting Up Authentication with Breeze Laravel Breeze provides a minimal, lightweight authentication scaffolding with Blade views. To set it up, run the following commands:
composer require laravel/breeze --dev
php artisan breeze:install
 Which Breeze stack would you like to install?
  Blade with Alpine ..................................................................................................................... blade
  React with Inertia .................................................................................................................... react
  Vue with Inertia ........................................................................................................................ vue
  API only ................................................................................................................................ api
❯ blade
blade

  Would you like dark mode support? (yes/no) [no]
❯ no

  Which testing framework do you prefer? [PHPUnit]
  PHPUnit ................................................................................................................................... 0
  Pest ...................................................................................................................................... 1
❯ 0
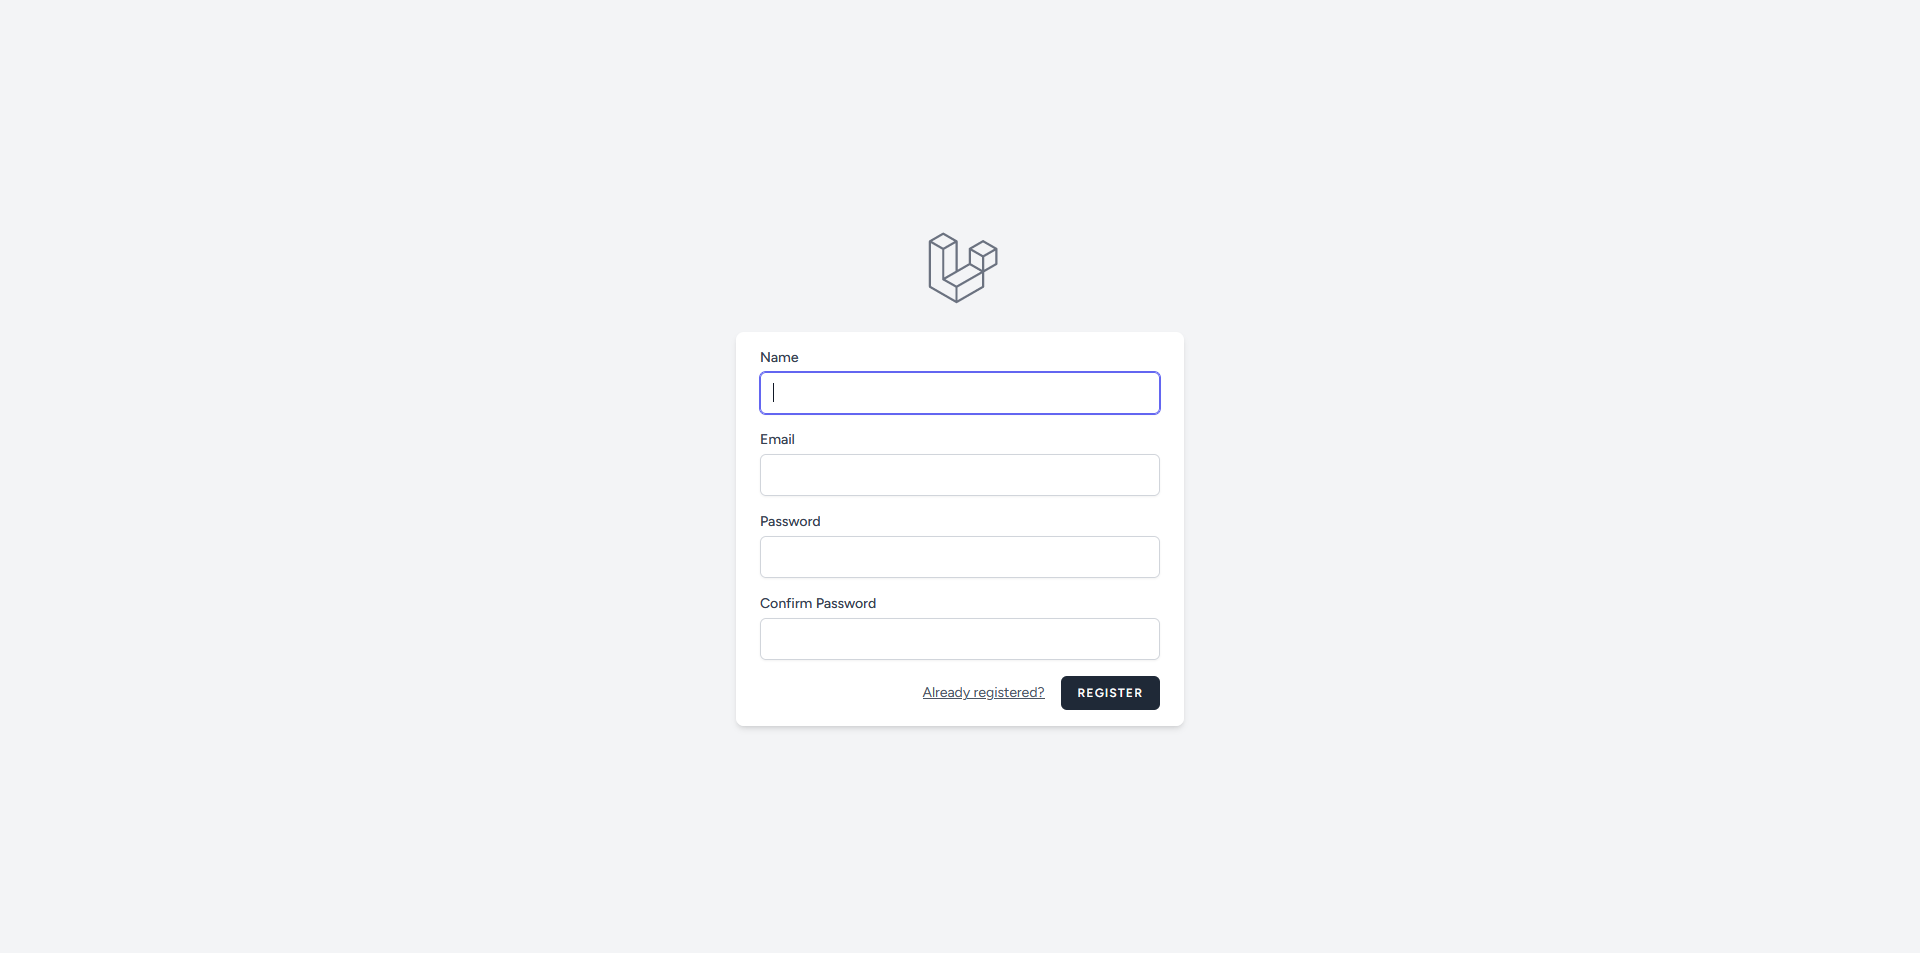
This command will generate login, registration, and password reset views, along with the necessary controllers and routes.
Step 2: Database Configuration
Make sure your .env file is correctly configured to connect to your database. Update the following fields with your database credentials:
DB_CONNECTION=mysql
DB_HOST=127.0.0.1
DB_PORT=3306
DB_DATABASE=your_database_name
DB_USERNAME=your_database_username
DB_PASSWORD=your_database_password
php artisan migrate
Step 3: User Model
Laravel Breeze uses the default User model, which is located in the app directory and extends the Illuminate\Foundation\Auth\User class.
Step 4: Authentication Middleware
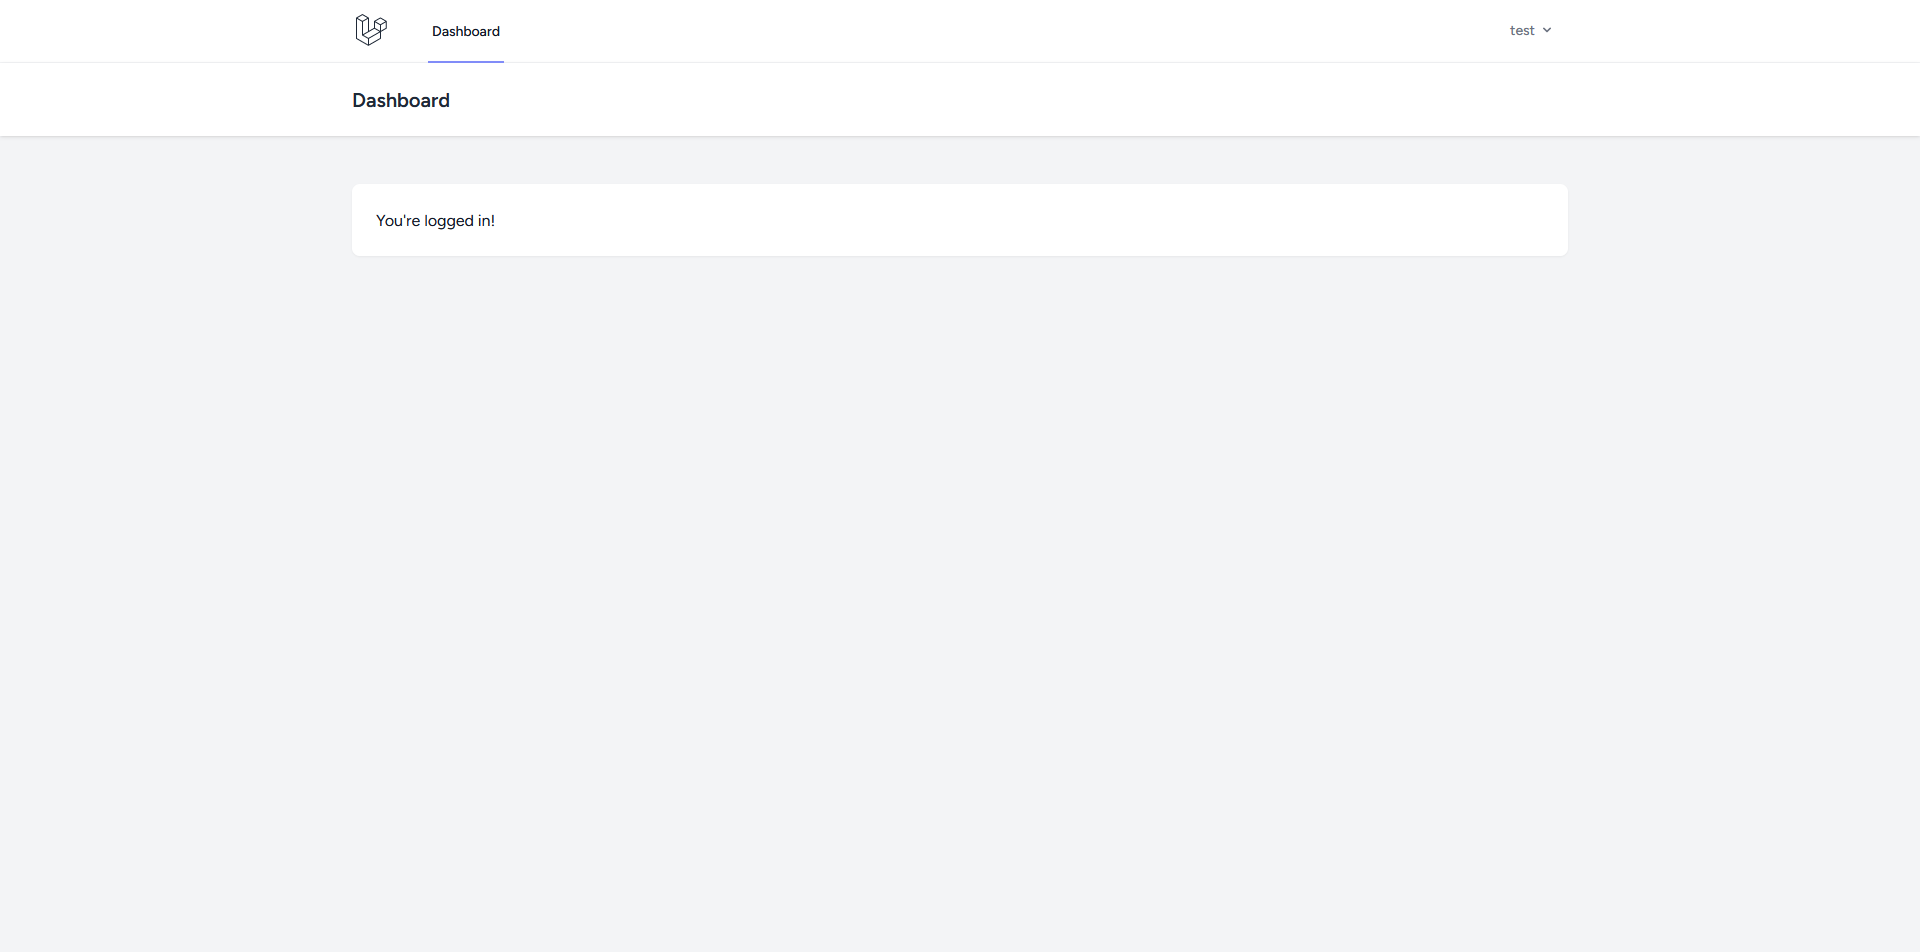
The auth middleware can be applied to routes that require authentication. In your routes, you can use this middleware to protect specific routes or groups of routes. For example, in your routes/web.php file, you can define a route like this:
Route::get('/dashboard', function () {
    return view('dashboard');
})->middleware(['auth'])->name('dashboard');
This route is protected, meaning that only authenticated users can access it. If an unauthenticated user tries to access it, they will be redirected to the login page.
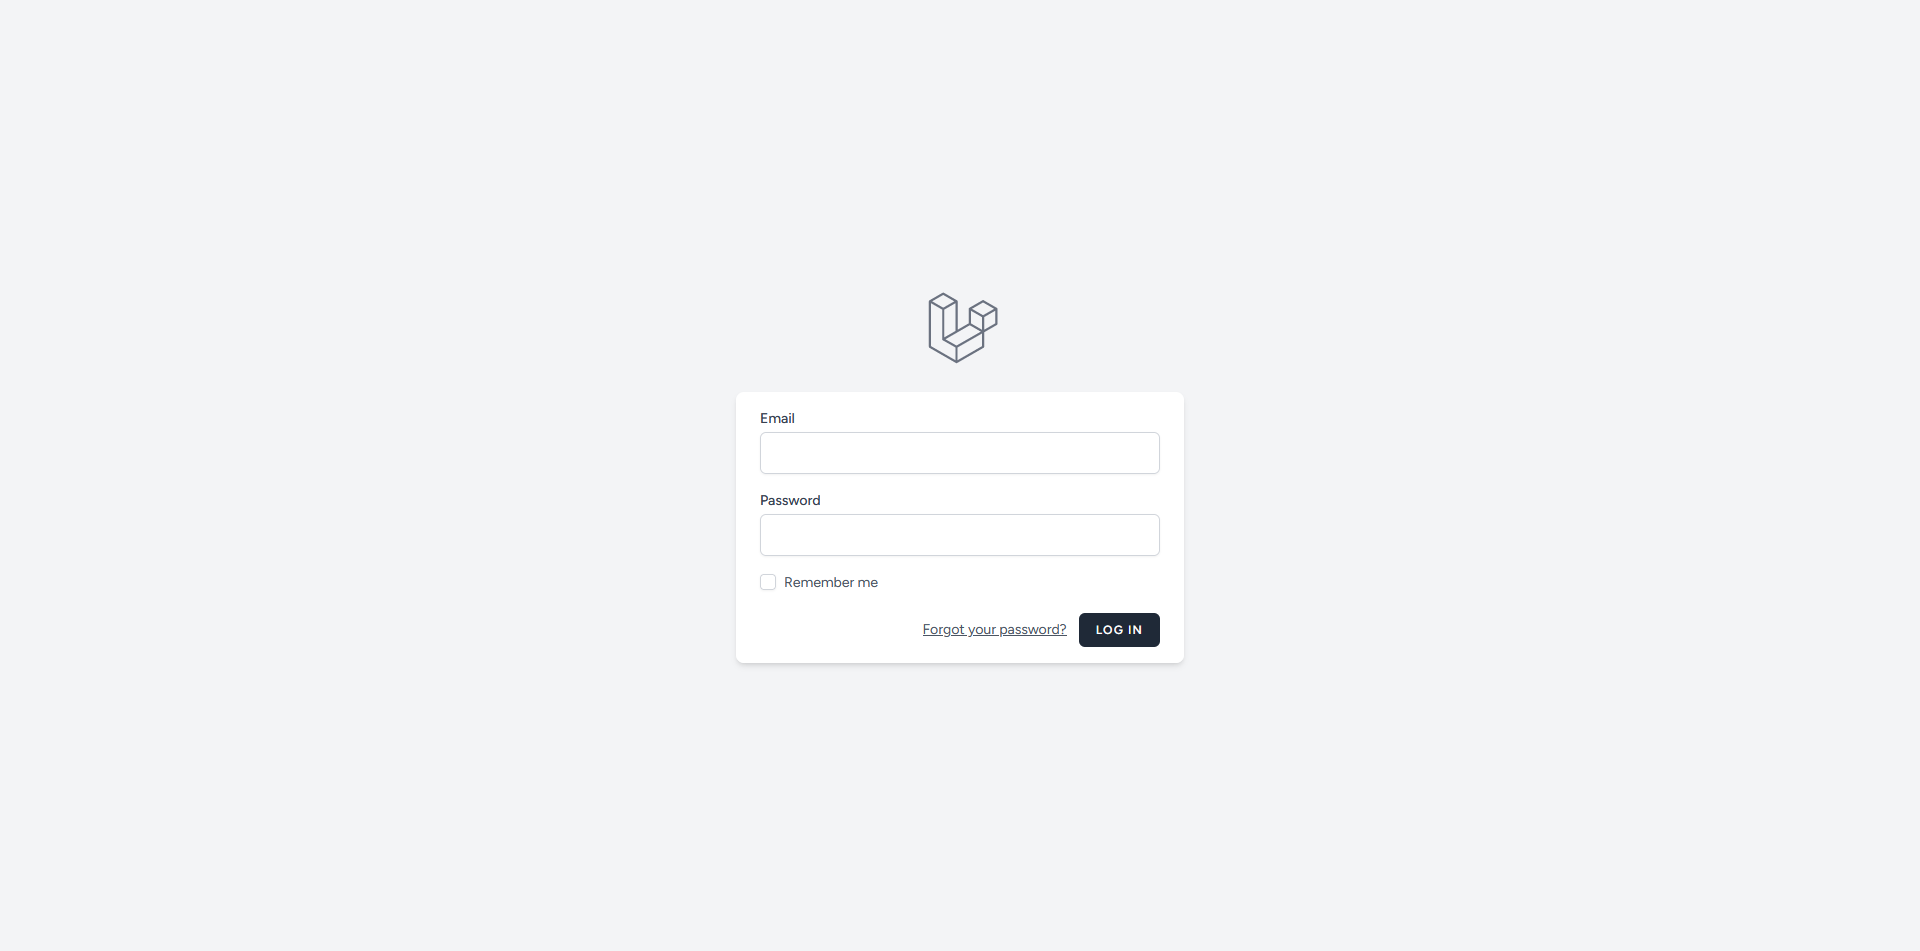
Step 5: Login
To access the login page, you can navigate to /login in your web browser. Laravel Breeze has already created the login view and controller for you. You can customize the login view by modifying the resources/views/auth/login.blade.php file.
Output
Quick summary
In this comprehensive guide, we've covered setting up authentication and authorization in a Laravel application. Laravel's built-in tools and conventions make it relatively simple to implement these essential features. However, remember that security is paramount, so always validate and sanitize user inputs to prevent security vulnerabilities.
Source Code
The complete source code for this tutorial is available on GitHub. You can find it Here.
About the Author
Jigar Patel is a React.js enthusiast and a software developer at JBCodeapp Company. Visit our JBCodeapp to learn more about our work in the React.js ecosystem.
We're Hiring
Are you passionate about Laravel development? We're always on the lookout for talented developers to join our team. Check out our careers page for current job openings.