Building a Blog Post Editor with React and CKEditor
- Published on
- Jigar Patel--4 min read
Overview
- Introduction
- Step 1: Set Up Your React Application
- Step 2: Install CKEditor 5
- Step 4: Add the CKEditor Component to Your App
- Step 5: Styling (Optional)
- Step 6: Run Your React Application
- Quick summary
- Source Code
- About the Author
- We're Hiring
- Related Blogs

Introduction
Creating a blog post editor with a What You See Is What You Get (WYSIWYG) text editor like CKEditor is a common requirement for many web applications. In this tutorial, we'll walk through the process of building a basic blog post editor using React and CKEditor. By the end of this guide, you'll have a functional blog post editor that you can further customize and extend to meet your specific project needs.
Step 1: Set Up Your React Application
To get started, make sure you have Node.js and npm installed on your machine. If you don't have them already, you can download and install them from the official website.
Next, create a new React application using Create React App by running the following commands in your terminal:
npx create-react-app blog-editor
cd blog-editor
Step 2: Install CKEditor 5
In your React project directory, you'll need to install CKEditor 5 as a dependency. Use npm to install the required packages:
npm install --save @ckeditor/ckeditor5-react @ckeditor/ckeditor5-build-classic
This command installs CKEditor 5 and the React wrapper for CKEditor.
Step 3: Create the CKEditor Component
Now, let's create a new React component that will serve as our blog post editor. In the src folder of your project, create a new file called Editor.js and add the following code:
src/Editor.js
import React, { Component } from 'react';
import { CKEditor } from '@ckeditor/ckeditor5-react';
import ClassicEditor from '@ckeditor/ckeditor5-build-classic';
import '../App.css';
class Editor extends Component {
render() {
return (
<div className="App">
<h2>Using CKEditor 5 build in React</h2>
<div className="editor">
<CKEditor
editor={ClassicEditor}
data="<p>Hello from CKEditor 5!</p>"
onReady={(editor) => {
// You can store the "editor" and use when it is needed.
console.log('Editor is ready to use!', editor);
}}
onChange={(event, editor) => {
const data = editor.getData();
console.log({ event, editor, data });
}}
onBlur={(event, editor) => {
console.log('Blur.', editor);
}}
onFocus={(event, editor) => {
console.log('Focus.', editor);
}}
/>
</div>
</div>
);
}
}
export default Editor;
This component creates a simple CKEditor instance with an initial content and provides hooks to access and handle changes to the editor's content.
Step 4: Add the CKEditor Component to Your App
Now, let's integrate the Editor component into your main application. Open the src/App.js file and import and use the Editor component:
import Editor from './components/Editor';

function App() {
  return (
    <div className="App">
      <header className="App-header">
        <Editor />
      </header>
    </div>
  );
}

export default App;
Step 5: Styling (Optional)
You can apply some basic CSS styles to make your editor look more appealing. Create a CSS file named App.css in the src folder and add the following styles:
src/App.css
.App {
  text-align: center;
}

.editor {
  max-width: 600px;
  margin: 0 auto;
  padding: 20px;
  border: 1px solid #ddd;
  border-radius: 5px;
  background-color: #fff;
  box-shadow: 0 0 5px rgba(0, 0, 0, 0.2);
}

h2 {
  margin-top: 100px;
}
These styles will give your blog post editor a clean and centered appearance.
Step 6: Run Your React Application
You're now ready to see your blog post editor in action. Start your React application by running the following command:
npm start
Your application should open in your default web browser at http://localhost:3000, and you'll be able to use your CKEditor-powered blog post editor.
Output:
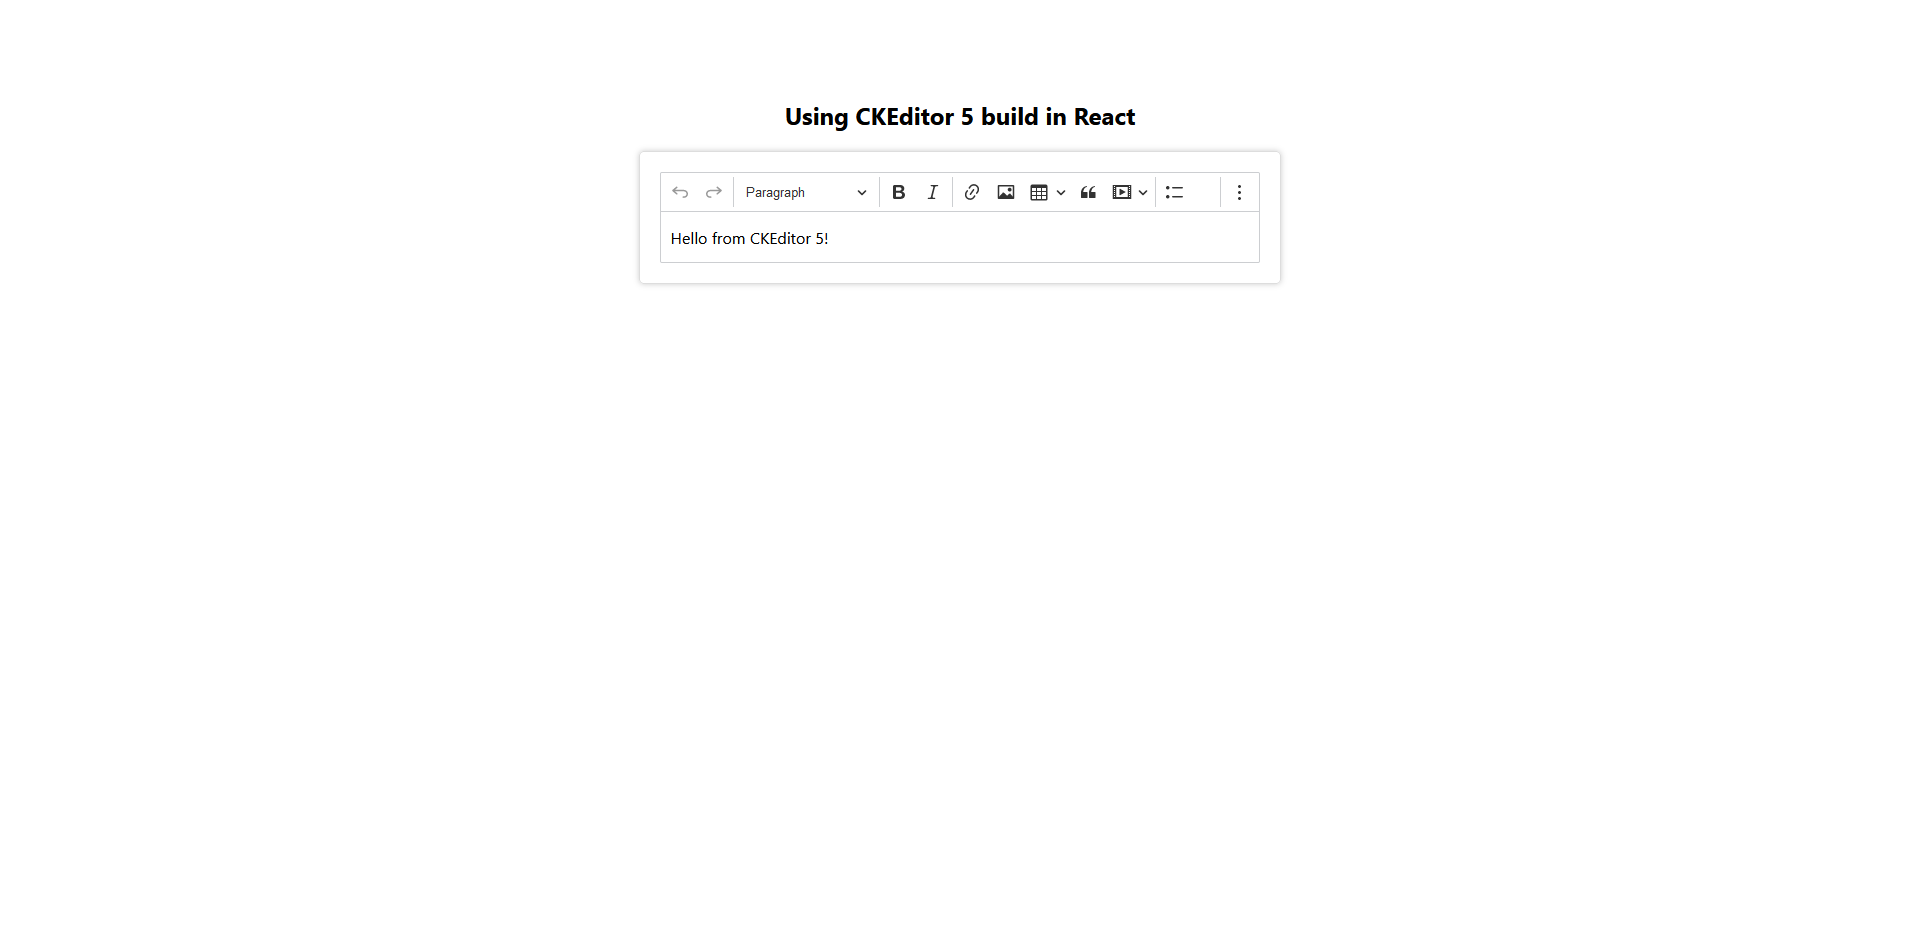
Quick summary
Congratulations! You've successfully created a basic blog post editor using React and CKEditor. This is just the beginning, and you can build upon this foundation by adding more features like saving, loading, and formatting blog posts, integrating with a backend for data storage, and applying additional styles and customizations to CKEditor to meet the specific requirements of your project. Enjoy developing your blog platform!
Source Code
The complete source code for this tutorial is available on GitHub. You can find it Here.
About the Author
Jigar Patel is a React.js enthusiast and a software developer at JBCodeapp Company. Visit our JBCodeapp to learn more about our work in the React.js ecosystem.
We're Hiring
Are you passionate about React.js development? We're always on the lookout for talented developers to join our team. Check out our careers page for current job openings.