React Password Validation Made Easy: A Step-by-Step Guide
- Published on
- Jigar Patel--4 min read
Overview
- Introduction
- 1. Prerequisites
- 2. Setting Up a React App
- 3. Creating the DemoForm Component
- 4. Styling the Form
- Quick summary
- Output
- Source Code
- About the Author
- We're Hiring
- Related Blogs

Introduction
Welcome to our guide on password validation in React. In this tutorial, we'll show you how to create a React application with password and confirm password validation. Whether you're new to React or an experienced developer, this step-by-step guide will help you achieve this common task.
1. Prerequisites
Before we start, make sure you have:
A basic understanding of React
Node.js and npm installed
2. Setting Up a React App
Let's begin by creating a new React app. Open your terminal and run this command:
npx create-react-app my-app
3. Creating the DemoForm Component
In this step, we'll build a React component called DemoForm to house our password and confirm password form. Here's how:
src -> DemoForm.js
import React from 'react';
class DemoForm extends React.Component {
constructor() {
super();
this.state = {
input: {},
errors: {},
};
this.handleChange = this.handleChange.bind(this);
this.handleSubmit = this.handleSubmit.bind(this);
}
handleChange(event) {
let input = this.state.input;
input[event.target.name] = event.target.value;
this.setState({
input,
});
}
handleSubmit(event) {
event.preventDefault();
if (this.validate()) {
console.log(this.state);
let input = {};
input['name'] = '';
input['email'] = '';
input['password'] = '';
input['confirm_password'] = '';
this.setState({ input: input });
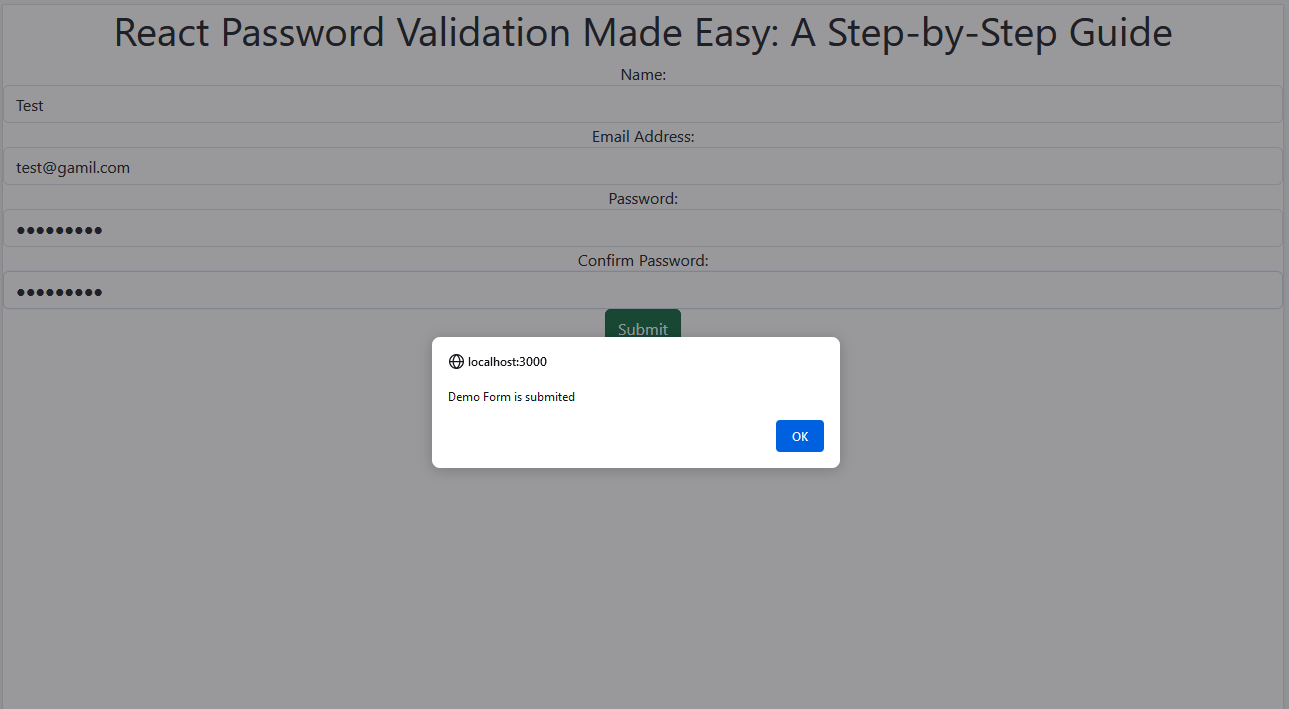
alert('Demo Form is submited');
}
}
validate() {
let input = this.state.input;
let errors = {};
let isValid = true;
if (!input['name']) {
isValid = false;
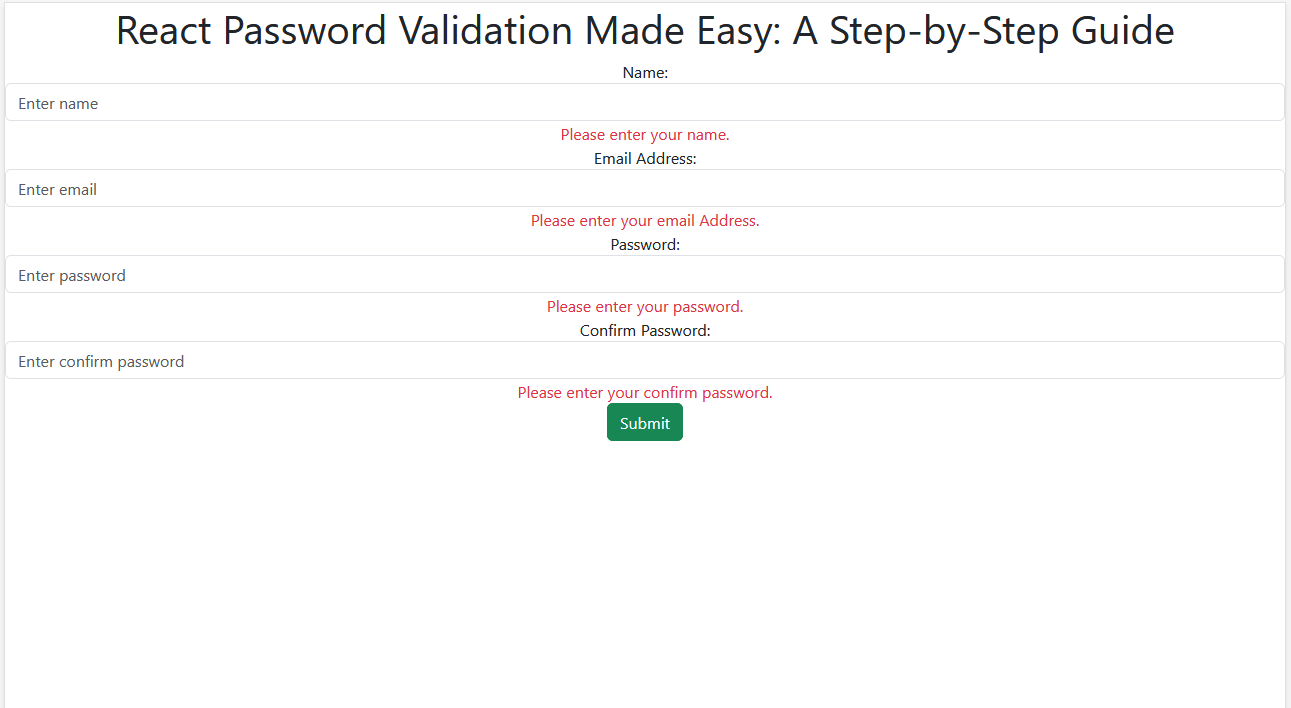
errors['name'] = 'Please enter your name.';
}
if (!input['email']) {
isValid = false;
errors['email'] = 'Please enter your email Address.';
}
if (typeof input['email'] !== 'undefined') {
var pattern = new RegExp(
/^(("[\w-\s]+")|([\w-]+(?:\.[\w-]+)*)|("[\w-\s]+")([\w-]+(?:\.[\w-]+)*))(@((?:[\w-]+\.)*\w[\w-]{0,66})\.([a-z]{2,6}(?:\.[a-z]{2})?)$)|(@\[?((25[0-5]\.|2[0-4][0-9]\.|1[0-9]{2}\.|[0-9]{1,2}\.))((25[0-5]|2[0-4][0-9]|1[0-9]{2}|[0-9]{1,2})\.){2}(25[0-5]|2[0-4][0-9]|1[0-9]{2}|[0-9]{1,2})\]?$)/i
);
if (!pattern.test(input['email'])) {
isValid = false;
errors['email'] = 'Please enter valid email address.';
}
}
if (!input['password']) {
isValid = false;
errors['password'] = 'Please enter your password.';
}
if (!input['confirm_password']) {
isValid = false;
errors['confirm_password'] = 'Please enter your confirm password.';
}
if (
typeof input['password'] !== 'undefined' &&
typeof input['confirm_password'] !== 'undefined'
) {
if (input['password'] != input['confirm_password']) {
isValid = false;
errors['password'] = "Passwords don't match.";
}
}
this.setState({
errors: errors,
});
return isValid;
}
render() {
return (
<div className="text-center ">
<h1>React Password Validation Made Easy: A Step-by-Step Guide</h1>
<form onSubmit={this.handleSubmit}>
<div className="form-group">
<label htmlFor="name">Name:</label>
<input
type="text"
name="name"
value={this.state.input.name}
onChange={this.handleChange}
className="form-control"
placeholder="Enter name"
id="name"
/>
<div className="text-danger">{this.state.errors.name}</div>
</div>
<div className="form-group">
<label htmlFor="email">Email Address:</label>
<input
type="text"
name="email"
value={this.state.input.email}
onChange={this.handleChange}
className="form-control"
placeholder="Enter email"
id="email"
/>
<div className="text-danger">{this.state.errors.email}</div>
</div>
<div className="form-group">
<label htmlFor="password">Password:</label>
<input
type="password"
name="password"
value={this.state.input.password}
onChange={this.handleChange}
className="form-control"
placeholder="Enter password"
id="password"
/>
<div className="text-danger">{this.state.errors.password}</div>
</div>
<div className="form-group">
<label htmlFor="password">Confirm Password:</label>
<input
type="password"
name="confirm_password"
value={this.state.input.confirm_password}
onChange={this.handleChange}
className="form-control"
placeholder="Enter confirm password"
id="confirm_password"
/>
<div className="text-danger">{this.state.errors.confirm_password}</div>
</div>
<input type="submit" value="Submit" className="btn btn-success" />
</form>
</div>
);
}
}
export default DemoForm;
3. Implementing Validation Logic
Now, let's add the validation logic for the form fields. We'll ensure that the password and confirm password fields match and include validation for the name and email fields too.
src -> index.js
import React from 'react';
import { createRoot } from 'react-dom/client';
import './index.css';
import 'bootstrap/dist/css/bootstrap.min.css';
import DemoForm from './DemoForm';

const root = createRoot(document.getElementById('root'));

root.render(
  <React.StrictMode>
    <DemoForm />
  </React.StrictMode>
);
4. Styling the Form
To enhance the form's appearance, you can add CSS styles or use a UI library like Bootstrap. Customize the styling to your liking.
Testing Your React Password Validation: After completing the form and validation logic, it's time to test your React app. Start the development server with this command:
npm start
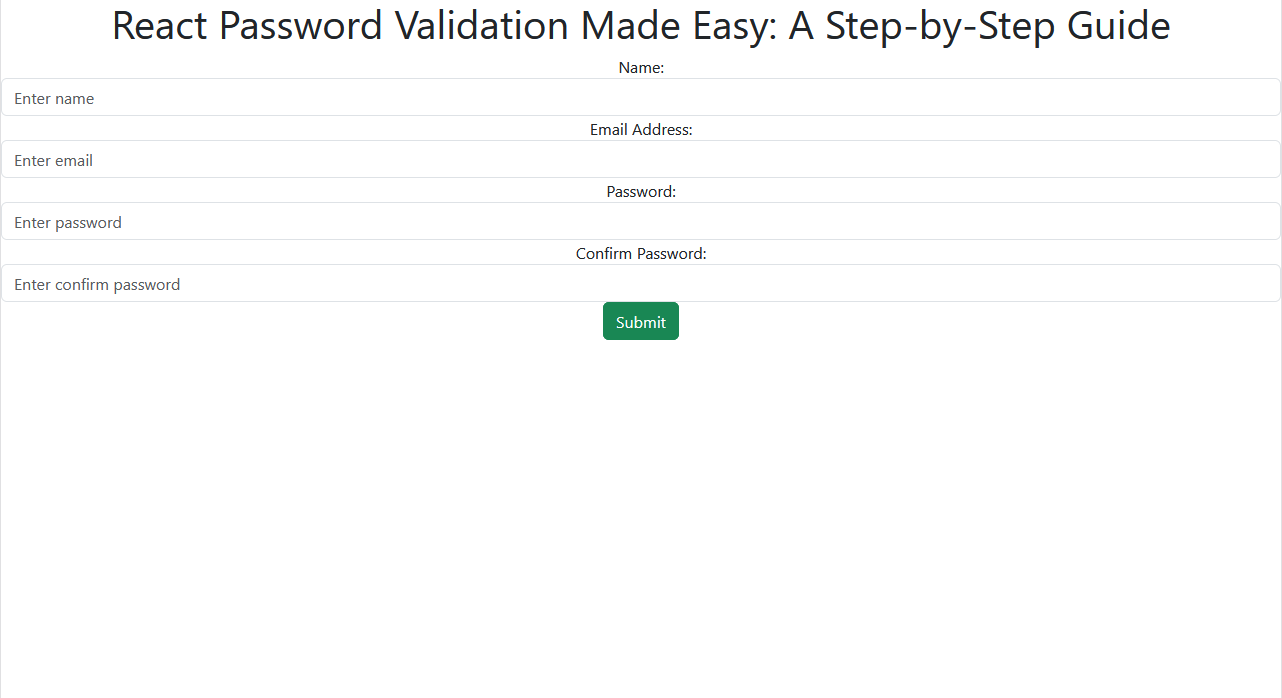
Open your browser and navigate to http://localhost:3000 to see your React app in action.
Quick summary
Congratulations! You've successfully implemented password validation in a React app. You've also learned how to create a React component, handle form input, and apply validation logic. This knowledge will prove valuable when building more advanced React applications.
Output
Source Code
The complete source code for this tutorial is available on GitHub. You can find it Here.
About the Author
Jigar Patel is a React.js enthusiast and a software developer at JBCodeapp Company. Visit our JBCodeapp to learn more about our work in the React.js ecosystem.
We're Hiring
Are you passionate about React.js development? We're always on the lookout for talented developers to join our team. Check out our careers page for current job openings.